At start-up FAW shows the initial window (Fig.1) from where it is possible to enter the “Case ID” that is a code / reference of the case we are dealing with; you can enter any alphanumeric character with a maximum length of 60 characters, or you can click on the [Auto] button and a Case ID will be generated based on the current date and time in ISO 8601 format.
The “Case ID” field is mandatory, a folder with the same name will be created in which the acquisitions will be inserted.

Fig. 1
The “Detective” field is optional, you can also leave it blank, and is used to enter the name of the investigator who is making the acquisition. If previous acquisitions have already been made, you can choose to insert other acquisitions simply by choosing the “Case ID” from the shortcut menu.
To access the main FAW window (Fig. 2), click on the [OK] button.
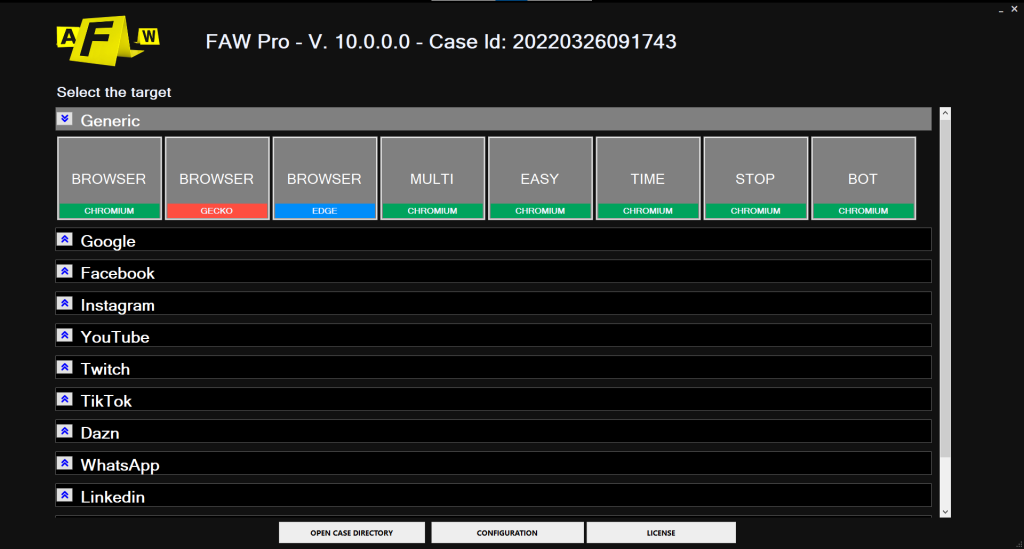
Fig. 2
At this point the user can decide which acquisition tool to use based on the type of website.
At the first start FAW creates in the user’s Documents folder a folder called “FAW” which will contain all the acquisitions grouped in subfolders with the name of the Case ID entered by the user.